
Let me guess, you picked up your first pair of sticks because they were cheap, available, or had a cool logo. Been there. 😅
But here’s the thing: most beginner drummers use the wrong stick size. And it’s not their fault – no one explains what “5A” or “2B” really means.
I made the same mistake, and it wrecked my playing for months. My hands ached, my tone was weak, and I just couldn’t seem to get comfortable behind the kit.
That’s why I put together this drumstick sizes chart and guide. I’ll help you figure out what those numbers mean and how to avoid the #1 mistake new drummers make when choosing their sticks.
If you want better control, better tone, and better endurance, it all starts with choosing the right drumstick size. Let’s break it down.
What drumstick sizes really mean (and why they matter)
When I started, I thought “5A” was just… a model number. I had no idea it actually referred to the thickness and weight of the stick.
And I definitely didn’t know that the size of your drumstick affects everything from tone to speed to comfort.
Let’s demystify the numbers and letters so you can read any drumstick sizes chart with confidence.
What the Numbers Mean
In every drumstick size, the number refers to the diameter or thickness of the stick. Here’s the kicker:
- Lower numbers = thicker sticks
- Higher numbers = thinner sticks
So:
- 2B = big, heavy, loud
- 5A = balanced, versatile
- 7A = thinner, lighter, better for finesse
This is why many beginners accidentally grab sticks that are too heavy or too light, leading to poor rebound, hand fatigue, or even blisters. Don’t let that be you.
What the Letters Mean
Originally, the letters represented intended use:
- A = orchestra (lighter touch, more finesse)
- B = concert/band (medium power)
- S = street/marching (heavier for outdoor projection)
Today, most drummers don’t worry too much about that, but it’s helpful to know when reading a drumstick sizing chart.
Why It Matters for Your Playing
Stick size directly affects:
- Speed (lighter sticks = faster hands)
- Power (heavier sticks = louder hits)
- Rebound and control (stick weight + taper = stick feel)
- Fatigue (if you’re fighting your sticks, you’ll tire out quick)
In short: the wrong size stick slows down your progress. Use the wrong pair and you might think you’re a bad drummer – when really, it’s just the gear working against you.
That’s why every beginner should learn how to use a drumstick sizes chart to compare models like 5A vs 5B or 7A vs 2B.
It’s one of the easiest ways to improve your sound without changing anything about your kit.
Drumstick Sizes Chart
Now that you understand what the numbers and letters mean, let’s look at a practical drumstick sizes chart you can actually use when comparing sticks in the real world.
Whether you’re buying online or trying out models in a music shop, this table breaks down the most common drumstick sizes: 7A, 5A, 5B, 2B and what they’re best for.
| Size | Length | Diameter | Weight | Best Use |
|---|---|---|---|---|
| 7A | 15½″ | .540″ | Light | Jazz, Light Rock |
| 5A | 16″ | .565″ | Medium | All-Purpose |
| 5B | 16″ | .595″ | Medium | Rock |
| 2B | 16¼″ | .630″ | Heavy | Metal, Concert Band |
If you’re still unsure after reading this chart, check out our full guide on how to choose drumsticks correctly based on your style and setup.
Quick tips by style & need:
- Jazz or Worship Drumming? Go with 7A. Lighter sticks = more finesse and less volume.
- Playing a bit of everything? 5A is your best friend. It’s versatile and widely available.
- Need to cut through loud amps? 5B offers more power and a slightly thicker feel.
- Metal, marching, or concert work? 2B sticks bring the weight and durability you’ll need.
Why Size Isn’t Just About Numbers
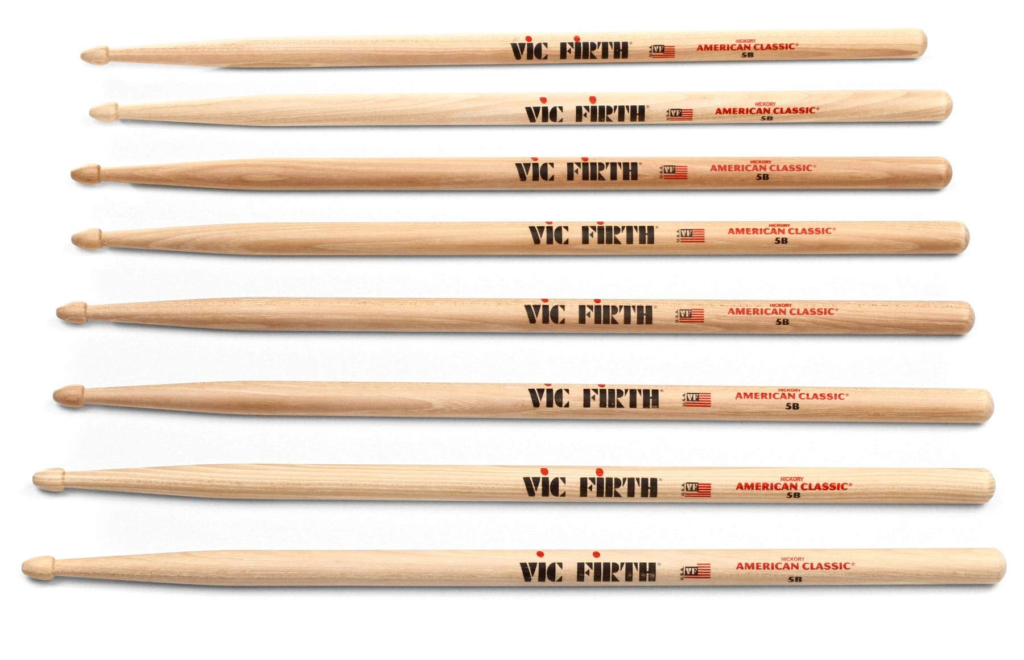
Stick sizes aren’t standardized across all brands. A 5A from Vic Firth might feel different from a 5A by Vater or Promark.
That’s why, even with a size chart, it’s smart to try before you commit, especially if you’re still getting used to how different sizes feel in your hands.
Also, don’t overlook your hand size and strength.
Smaller hands may feel more natural with 7A or 8D sticks, while drummers with larger or stronger hands might prefer 5B or 2B for better grip and momentum.
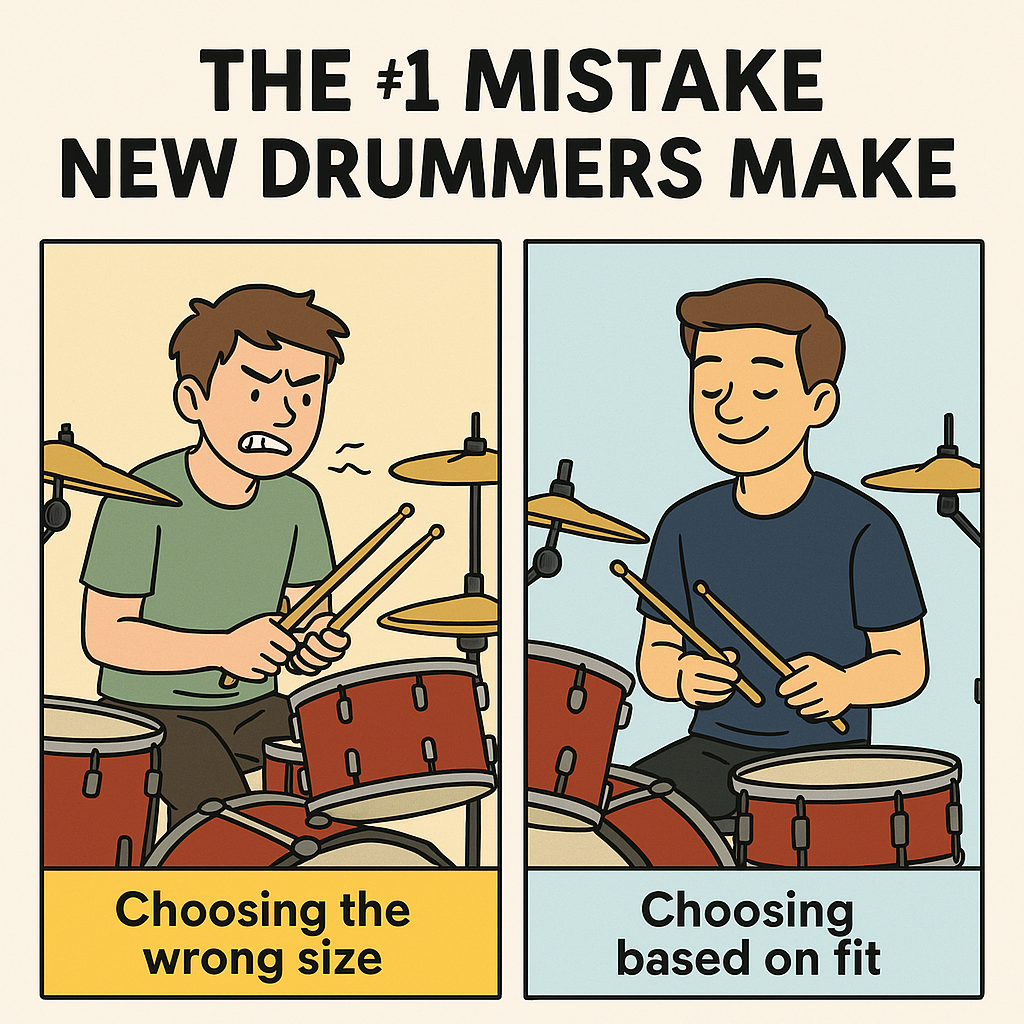
The #1 Mistake New Drummers Make With Stick Sizes
Let’s get straight to it: the #1 mistake new drummers make when reading a drumstick sizes chart is not knowing how size affects their playing.
It sounds simple, but the consequences are huge.
Most beginners grab sticks without really understanding what 5A, 7A, or 2B actually mean. I did it too.
And that one decision, picking a stick without knowing how it fits your hands, style, or goals can wreck your tone, slow your progress, and leave you frustrated for months.
Why It Happens So Often
- You walk into a music shop and see numbers and letters with zero explanation
- A friend says “I use 2Bs,” and you assume they’re fine for you too
- Or worse – you buy based on brand or color, not on fit and feel
But here’s the truth: without understanding how drumstick sizes affect things like speed, volume, fatigue, and rebound, you’re basically setting yourself up for failure before you even hit the snare.
What This Mistake Looks Like in Real Life
I see it all the time (and I’ve done it too):
- Using sticks that are too heavy? You burn out quick, grip too tight, and your wrists hate you.
- Too light? You overcompensate with force and lose dynamic control.
- Wrong diameter? You lose feel and control or worse, develop bad habits.
It’s a classic beginner trap and a totally avoidable one.
How to Fix It Fast
Use a drumstick sizes chart as your starting point – not a brand name or guesswork.
Here’s how:
- Try 5A first: it’s the most balanced and beginner-friendly stick size
- Compare your hand size and grip to stick diameter using the chart
- Test for comfort, bounce, and control – not just sound
- Pay attention to how your body feels after practice: aches = wrong size
- Trust how it feels more than what the box says
Other stick factors that trip you up
Stick size is huge, but it’s not the only thing that affects your playing.
Even if you’ve nailed down your ideal size using the drumstick sizes chart, your experience can still vary a lot depending on other design features.
Here’s what else to look out for:
Tip Shape and Material
This one seriously changes your tone. The shape and type of tip determines how your stick sounds on cymbals, especially the ride and hi-hat.
Common wood tip shapes:
- Teardrop: Warm, balanced tone. Great for all-purpose use.
- Acorn: Bigger surface contact, fatter sound.
- Barrel: Punchy and loud, ideal for heavy playing.
- Round: Bright and articulate, good for cymbal clarity.
Nylon tips are popular too. They produce a brighter, sharper sound and last longer, especially on cymbals.
I’ve used nylon tips for outdoor gigs or situations where I need that extra “ping” off the ride.
Taper Length
Taper refers to how gradually the stick narrows from the shaft to the tip. It directly affects balance and rebound.
- Long taper: More flex and bounce. Great for faster playing and finesse.
- Short taper: More power, less rebound. Good for aggressive styles.
You could have two 5A sticks with completely different tapers and they’ll feel nothing alike.
Stick Material
Most sticks are made of hickory, which balances durability and shock absorption. But there are other options worth knowing.
- Maple: Lighter and faster, but less durable. Great for light touch and quick movements.
- Oak: Heavier and harder. More durable but tougher on your hands.
- Synthetic or carbon fiber: Built to last, but can feel less natural and more “bouncy.”
Grip Finish
Some sticks have a natural wood feel. Others are lacquered, painted, or rubberized.
- No finish: Great if you like a raw feel or play with sweaty hands.
- Lacquered or gloss finish: Feels smooth, but can get slippery.
- Coated grips (like Promark’s ActiveGrip): Get tackier the more you sweat.
Try different finishes to see what feels secure without being sticky or annoying.
Brand Feel and Consistency
Here’s something I learned the hard way. A 5A from Vic Firth and a 5A from Vater won’t feel identical.
Each brand has its own wood sourcing, balance, and finish preferences.
Stick with one brand for consistency, or try a few to see what aligns with your hands and style. Some brands just feel better depending on how you play.
Don’t let the wrong size hold you back
The truth is, most beginner drummers struggle longer than they need to simply because they’re using the wrong sticks. It’s such a small thing, but it has a massive impact.
Your drumsticks are your connection to the kit. If they’re too heavy, too light, too slippery, or just plain wrong for your hands or your style, they’ll fight against you every time you play. That’s why understanding how to use a drumstick sizes chart is such a game changer.
Let’s recap what matters most:
- Stick size affects everything – from tone to speed to fatigue
- The number means thickness. The letter points to its original use
- 5A is a solid starting point, but not a one-size-fits-all
- Use a drumstick size guide to compare models and find your fit
- Don’t ignore the extras – tip shape, taper, and finish all matter
- The best stick is the one that feels right in your hands, not your favorite drummer’s
Choosing the right drumstick isn’t just about playing better – it’s about enjoying drumming more.
When the stick fits, you can stop thinking about your gear and just focus on the groove.
Check out this video going deep in to selectin the right drumstick size for every style:
Final tip?
Try at least two different sizes before you settle. Feel the difference. Pay attention to how your hands respond.
And if you’re unsure, revisit the drumstick sizes chart anytime you want to level up or explore something new.
Keep practicing. Keep exploring. And always play what feels good.


