If you are like me and love to play aggressively, then I am sure you’d go through pair after pair. Broken drumsticks were driving me crazy!
At first, I blamed cheap gear. Then I blamed hitting too hard. Turns out, it was a mix of a few small things that added up.
Over time, I learned how to make my sticks last longer – and not by playing softer, but by playing smarter. Things like changing where I hit the cymbals, how I grip the stick, and even the kind of sticks I use made a huge difference.
If you’re dealing with broken drumsticks way too often, this post is for you. I’ll share the exact tips I use now to extend the life of my sticks, so you spend less time buying replacements and more time actually playing.
Broken drumsticks usually come from bad habits, poor gear, or cheap materials. Fix your grip, technique, and stick choice to make them last.
Why Drumsticks Break (And Why It’s Totally Normal)
Let’s be real – broken drumsticks are just part of being a drummer, especially if you’re not out here playing quiet jazz with brushes and whisper dynamics.
If you’re into rock, metal, punk or just like to play with energy and power – you’re going to break sticks.
DON’T listen to those people bragging about not breaking any sticks in years!
It’s not a technique failure. It’s not something to be embarrassed about. It’s just the reality of hitting hard, fast, and often. I mean, that’s half the fun, right?
That said… there’s a difference between breaking sticks every once in a while and snapping one every session. If you’re going through multiple pairs a week, there might be something in your technique or setup worth looking at.
Why Drumsticks Break
Here’s what typically causes breakage:
- Hard-hitting playing style (power = more stress on sticks)
- Bad cymbal angles (straight-on crashes splinter sticks)
- Death grip on the stick (too much tension, no rebound)
- Low-quality or mismatched sticks (cheaper sticks = faster breakage)
- Old or cracked sticks (once they’re fatigued, it’s only a matter of time)
So yes, if you hit hard, sticks will break. But the goal here is to make them last longer, break less often, and break more safely when they do.
If you’re not sure you’re even using the right stick for your playing style, that’s a huge part of the puzzle.
I recommend starting with our full Drumsticks 101 guide – it breaks down materials, sizes, and tip shapes so you’re not using a marching stick to play jazz or a 7A in a deathcore band.
Tip #1: Choose the Right Stick for Your Playing Style
This one’s huge and it’s probably the most overlooked reason behind broken drumsticks.
Back when I first started playing heavier stuff, I was using 7A sticks. Why? Because they felt fast and light. Problem is, they weren’t built for the punishment I was putting them through. I was cracking them constantly – sometimes even within a few hours. Total rookie mistake.

Stick Size Matters
If you’re playing rock, metal, hardcore or anything that demands power, you need a stick that can take a hit. Lighter sticks like 7A or slim maple models are great for jazz or softer dynamics, but they’re not ideal for high-impact playing.
Here’s a quick breakdown of stick sizes that tend to last longer under heavy use:
- 5A – Good all-arounder. Balanced for most styles.
- 5B – Slightly thicker, more durable for rock and heavier styles.
- 2B – A tank. Perfect for power players and marching-style strength.
If you’re breaking a lot of sticks, bumping up to a 5B or even a 2B could be a game-changer.
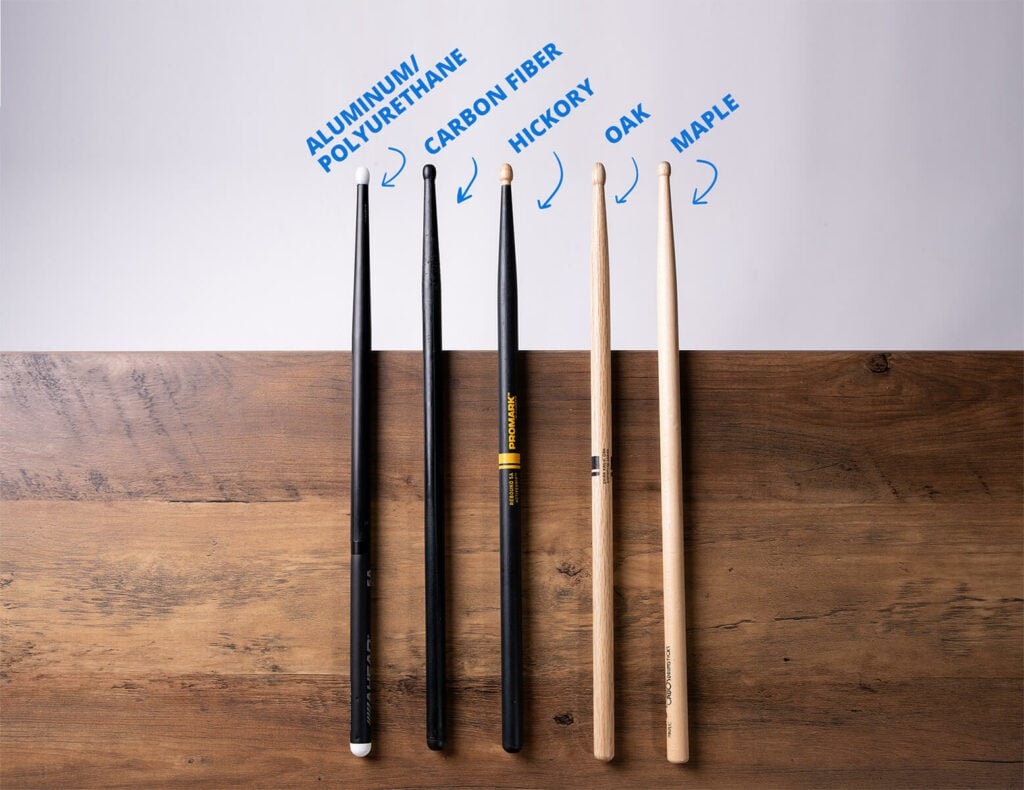
Wood Type Makes a Difference
Not all sticks are created equal – even if they look the same. Hickory is the go-to for durability, while maple is lighter and breaks faster under pressure. Oak is super dense and can last longer, but it’s also harder on your hands and gear.
If you want to dive deeper into how wood, weight, and tip shape affect stick life, check out our full breakdown on how to choose drumsticks. That guide lays it all out so you’re not guessing.
Signs You’re Using the Wrong Stick
- You’re breaking the same stick every few sessions
- You feel like you have to grip too hard to control it
- You’re getting excessive vibration or hand fatigue
- Tips are chipping or splintering way too fast
Choosing the right stick for your style is the first step in making them last longer. You don’t have to swing tree trunks, but your sticks should match the way you play.
Tip #2: Pay Attention to Your Cymbal Angles
If you’re snapping sticks near the tip or watching chunks fly off every time you crash, it means your cymbal angles might be the real problem.
This one took me way too long to figure out. I used to set my cymbals flat, like right out of the box. It looked clean, sure, but every time I hit the edge, my stick caught hard. It didn’t glide off – it smashed. And surprise: broken drumsticks, usually right near the shoulder.
The Fix: Tilt Your Cymbals
Angling your cymbals slightly toward you allows the stick to glance off the surface instead of crashing straight into the edge. You still get the volume and power, but with less stress on the tip and shaft of your stick.
Even a small tilt – like 10 to 15 degrees can make a massive difference. It takes pressure off the contact point and spreads out the impact.
Watch for These Signs
- Tips chipping or splintering frequently
- Stick breaks right near the taper
- Visible dents or chips in the cymbal edge
- Wrist or hand pain after lots of crashes
Bonus Tip: Cymbal Stands Matter Too
Cheap, wobbly stands that don’t let cymbals move freely? Yeah, that’s another fast track to stick carnage. Cymbals need some movement so they can absorb impact naturally, like a shock absorber for your sticks.
You don’t need to go high-end, but make sure your felts, sleeves, and tilt mechanisms are in working shape. A stiff cymbal mount can do just as much damage as bad stick technique.
Want to go even deeper into choosing gear that plays well with your technique? Our Drumsticks 101 guide covers how the stick, setup, and even your grip all work together to prevent gear damage.
Tip #3: Loosen Your Grip (Seriously, It’s Time)
I’ll be honest – I used to death grip my sticks. Like, full-blown, white-knuckle tension all the time. I thought it gave me more power, more control. But all it really gave me was hand fatigue, bad rebound, and, you guessed it – broken drumsticks.
Your sticks are supposed to move a little. They’re designed to rebound, to flex, to give. If you’re choking them too tightly, you’re forcing all the shock into one spot and that stress eventually snaps the wood.
Lighter Grip = Longer Stick Life
When you let the stick do the work, meaning it rebounds freely and doesn’t get pinched at every stroke, it spreads the force across the stick’s length. That means less concentrated impact, and fewer sudden breaks.
Here’s what helped me loosen up:
- Focus on fulcrum control (thumb + index finger)
- Let the back fingers stay relaxed and not locked
- Practice slow doubles with open grip to feel natural rebound
- Use a mirror or video to spot tension in your hands
If you’re not sure whether your grip is helping or hurting, this article on drumstick weight and control breaks down how different sticks feel in your hands and how lighter or heavier models might be making you overcompensate with tension.
Bonus: Less Grip = More Speed
As a side effect, when I loosened up, I got faster. Way faster. My hands didn’t tire out, and my rebounds were more consistent.
So yeah, save your sticks and your wrists by letting go a little.
Tip #4: Retire Worn-Out Sticks Before They Snap
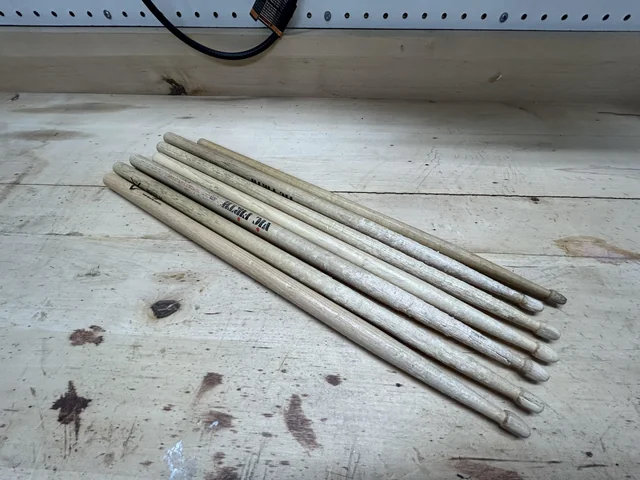
Here’s something I used to be guilty of constantly: playing a stick way past its expiration date. I’d look at it, see a couple chips or a slight crack, and think, “Eh, it’s still got a few hours left.”
Spoiler alert: it didn’t.
Worn-out sticks are just accidents waiting to happen. Once a stick starts to chip, splinter, or develop hairline cracks, it loses its structure. The next hard rimshot, crash, or even pad hit can snap it in two.
Warning Signs It’s Time to Let Go
- Visible cracks or splits, especially near the shoulder
- Frayed or splintering tips
- Flat spots on the shaft from rimshots
- One stick feels lighter, shorter, or out of balance
- You hear a dull “thunk” instead of a crisp tap when dropped on a table
I get it – we want to squeeze every last session out of a pair, especially if we paid $15 for them. But a stick that’s about to break isn’t worth a ruined session (or worse, a bruised hand, cracked cymbal or destroyed drumhead).
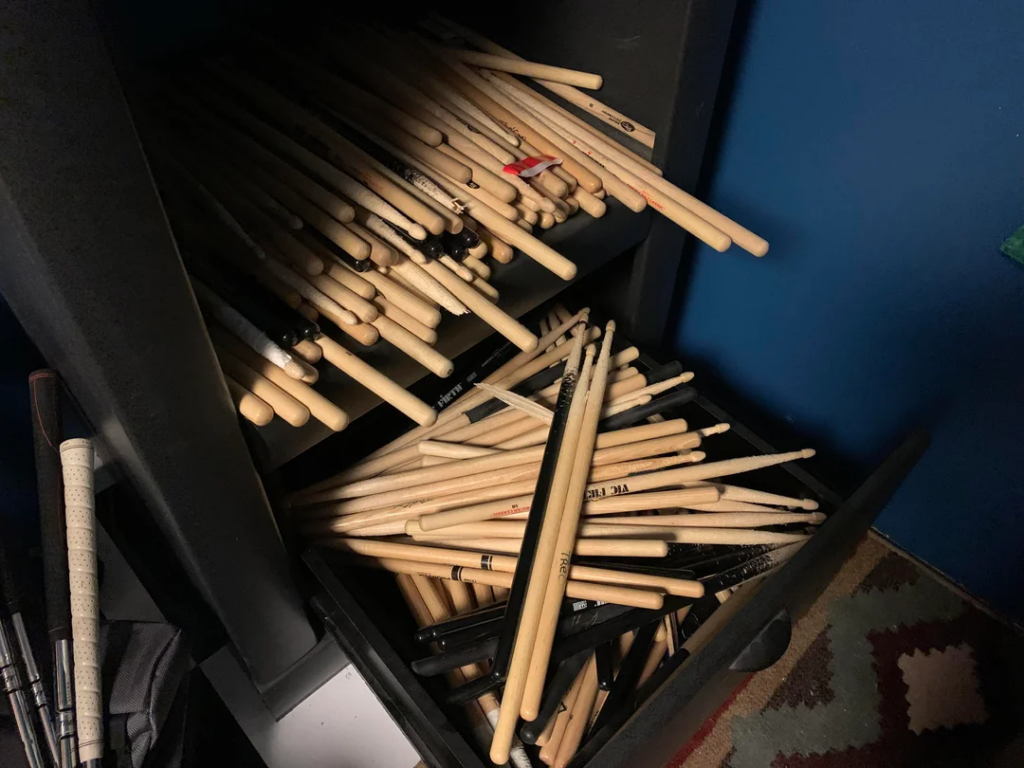
Rotate Your Sticks
One thing that helped me a lot was keeping two or three pairs in rotation. I’d use one for rehearsals, one for shows, and a beater pair for pad practice. That way, no single pair took the full beating.
If you’re looking to extend your stick life even further, proper drumstick maintenance goes a long way.
A quick wipe-down, storing them in a dry spot, and checking for cracks regularly will help you catch issues before they snap mid-set.
Tip #5: Use Sticks Designed for Durability
Not all sticks are created equal. Some are made to be light and fast, while others are built like tanks. If you’re consistently ending up with broken drumsticks, it might be time to switch to a model specifically made for durability.
I made this change after snapping yet another pair of cheap 5As in the middle of a loud rehearsal. I switched to a heavier-duty model. Same size, but stronger build, and instantly noticed a drop in breakage.
Drumsticks That Actually Last Longer
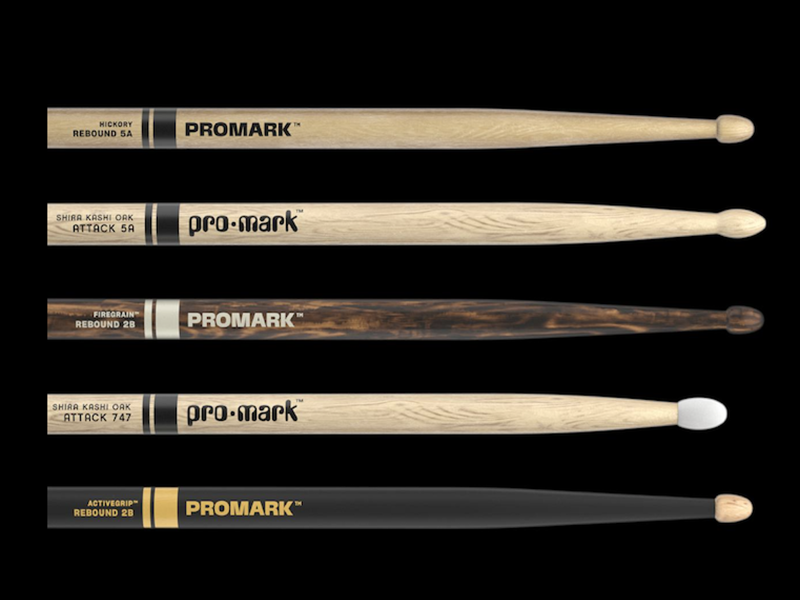
Here are a few durability-focused options worth checking out:
- Promark FireGrain – Flame-tempered hickory for increased strength without changing feel
- Vic Firth Extreme 5B / American Classic – Slightly longer and thicker than standard sticks, but still well-balanced
- Vater Power 5B / 2B – Known for denser wood and rugged build
- Carbon fiber sticks – Not for everyone, but crazy durable if you like that feel
Some of these sticks are reinforced through special treatment processes like heat-tempering or composite layering. It helps them absorb shock and resist chipping. Others just use tougher wood stock with better quality control.
It’s Not Just About Heavier = Better
You don’t need to jump straight to marching sticks or thick dowels. In fact, using something too heavy can mess with your technique or cause more fatigue.
The trick is finding a stick that gives you the right mix of durability, rebound, and comfort.
Our guide to the best drumsticks for every style has a section on long-lasting options based on genre, worth a look if you’re not sure what to try next.
Tip #6: Don’t Neglect Your Playing Surface
One thing I never thought much about early on was what I was actually hitting. I focused on sticks, grip, cymbal angle… but not the playing surface. And it turns out, your kit can absolutely eat up your sticks if it’s not in good shape.
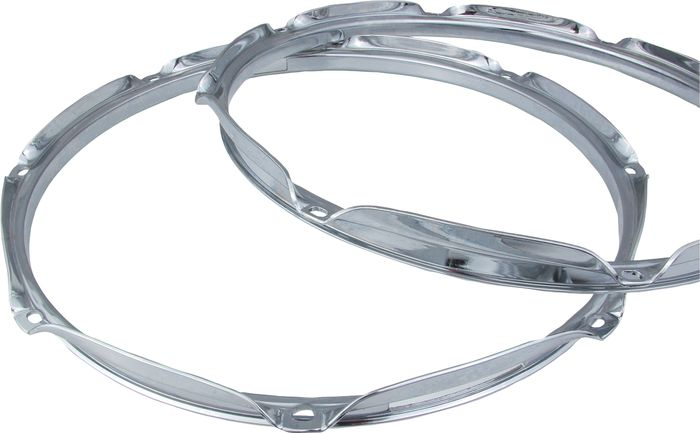
Damaged or Hard Edges Will Destroy Sticks
Cymbals with sharp nicks or dents? Old drumheads with cracking rims? Cheap rubber pads on an e-kit that don’t give at all? Yeah, that stuff is brutal on sticks.
I once had a cracked hoop on my snare that I ignored for weeks. I couldn’t figure out why I was snapping sticks left and right until I finally looked closely and saw how the rim was literally carving into the shaft of my stick every time I hit it.
Same goes for practice pads with no give or surfaces that are too hard. If your pad feels like a slab of concrete, it’s not just rough on your wrists – it’s shaving micro-damage into your sticks with every hit.
🧰 A Quick Kit Check Can Save You Sticks
Here’s what I do now on a regular basis:
- Check cymbal edges for chips, dents, or burrs
- Look for cracked hoops or bent rims
- Replace practice pads that feel dead or overly hard
- Use real mesh heads or cushioned rubber on e-kits
- Rotate your hitting zones (especially on crash cymbals)
If you’re working with an older kit or budget setup, no worries, but staying on top of maintenance makes a big difference. Our drum kit maintenance guide walks through how to spot gear issues before they cost you more in broken sticks.
Tip #7: Don’t Toss Broken Drumsticks – Repurpose Them Instead
Look, sometimes no matter how careful you are, you’re still going to end up with broken drumsticks. It’s part of the job. But that doesn’t mean you have to send them straight to the trash.
Over the years, I’ve found a bunch of creative and surprisingly useful ways to repurpose broken sticks—and honestly, it’s kind of fun giving them a second life.
You can definitely find good ideas on Pinterest how to reuse broken sticks!
🛠️ DIY Ideas for Broken Drumsticks
- Practice sticks – If the break is clean and the tip’s intact, trim or sand it down and use it for pad work or rudiment drills.
- Drum key holders – Drill a hole in the butt end, add a key ring, and boom—your own stick-shaped drum key holder.
- Cabinets or curtain rods? I’ve seen people turn them into drawer pulls or accents in home studios (especially cool if you gig).
- Firewood for campfires or bonfires – Yep, they’re wood. Just make sure there’s no weird coating or plastic before tossing them in.
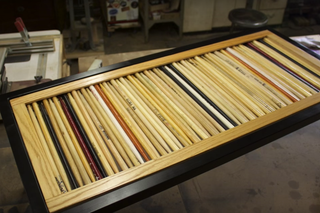
- Art projects – Drumstick lamps, mic holders, even frames or tables. Pinterest is wild for this stuff.
One Tip Before You Repurpose
If a stick splintered dangerously, toss it. Don’t try to sand it into something usable, it’s just not worth the risk and the hassle. But if the break is clean – go for it. You can even bundle a few together and use them as DIY stick holders inside your gig bag.
Bonus: If your broken stick has sentimental value, like from your first show or a big gig – label it and save it as a keepsake. I’ve got a few mounted on a wall at home, and they tell way better stories than any cymbal could.
And hey, if you’re consistently ending up with a pile of broken sticks and haven’t already checked your gear, grip, or stick type, head back to Drumsticks 101. That guide lays the foundation for smart stick selection, so you’re set up to avoid breakage in the first place.
To Conclude
If you play loud, play hard, or play often – broken drumsticks are going to happen. That’s just part of being a drummer. But the good news is, you can absolutely control how often it happens.
From choosing the right stick for your style, to adjusting cymbal angles, loosening your grip, and staying on top of gear maintenance – small changes can seriously extend your stick life.
And when sticks do break? Don’t toss them right away. Give them a second life – either as a practice stick, DIY holder, or even just a wall-hanger from your favorite gig.
The point is: play hard, but play smart. Your hands, your gear, and your wallet will thank you.