
To customize drumsticks, like add tape, wax or anything else might actually sound like overkill, but not until one flies out of your hand mid-song…
Yeah, that happened to me. I used to think all I needed was a tighter grip. Then summer hit, my hands got sweaty, and I started launching sticks like javelins. That’s when I realized a few small tweaks could make a huge difference.
Turns out, when you customize drumsticks, it’s not just about making them look cool. You can actually improve your grip, cut down on fatigue, and get a more consistent feel every time you play.
Whether it’s tape, wax, or just giving them a personal touch, I’ll walk you through exactly how to dial in your setup so your sticks feel made for you.
Why Customize Drumsticks At All?
I didn’t start customizing my drumsticks because it looked cool. I started because my hand was literally cramping halfway through every practice session.
Back then, I was playing in a poorly ventilated rehearsal space, I had sweaty palms, slick sticks, and sloppy beats. I tried gripping harder, drying my hands on my jeans, even chalk. Nothing worked… until I wrapped some old hockey tape around the grip area. It wasn’t pretty, but man, did it help.
That one small change unlocked a whole new level of comfort and control.
Here’s why customization is a game-changer:
Better Grip
Let’s start with the obvious – grip. Whether you’re sweating through summer gigs or just playing fast, sweaty hands can mess everything up.
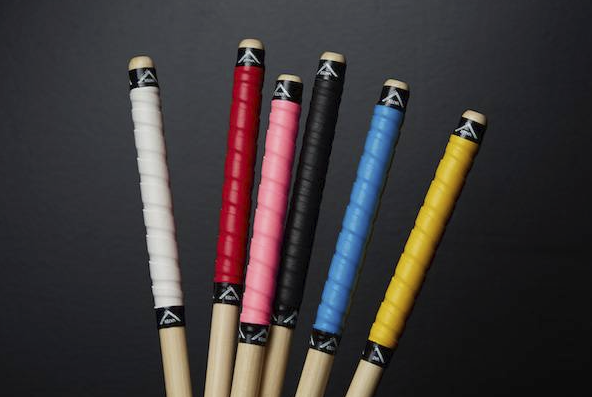
Tape, wax, or grip sleeves can all keep your sticks where they belong: in your hands. This matters even more if you’re using smooth sticks without natural finish or lacquer.
Less Fatigue
Customizing your grip reduces how much you have to “clench” the stick. I didn’t realize how much tension I was carrying in my fingers until I added grip tape and started relaxing more.
Less tension = longer sessions with fewer hand cramps.
Improved Control and Consistency
Once you start tweaking your sticks, you begin to notice subtle things – like where you naturally hold, where your fingers rest, and how that affects your technique.
Adding tape or a rubber sleeve right at your grip point helps lock in your muscle memory. I noticed my rimshots started sounding more consistent just from holding the stick the exact same way every time.
Mental Boost
I’ll be honest – there’s a mental edge, too. Playing with gear that feels like it’s yours just gives you confidence. My sticks feel like an extension of my hand now, and I can’t imagine going back to stock.
A Bit of Style
Okay, maybe I did end up customizing them for looks later. I use thin red electrical tape bands to mark mine (no one’s stealing those at practice).
I’ve also scribbled initials on the butt ends with silver Sharpie. Doesn’t affect playability, but it’s mine, you know?
Related Read: If you’re just getting started with stick selection, check out our guide on how to choose drumsticks. It breaks down sizing, balance, and everything else before you even get to customizing.
Using Drumstick Grip Tape
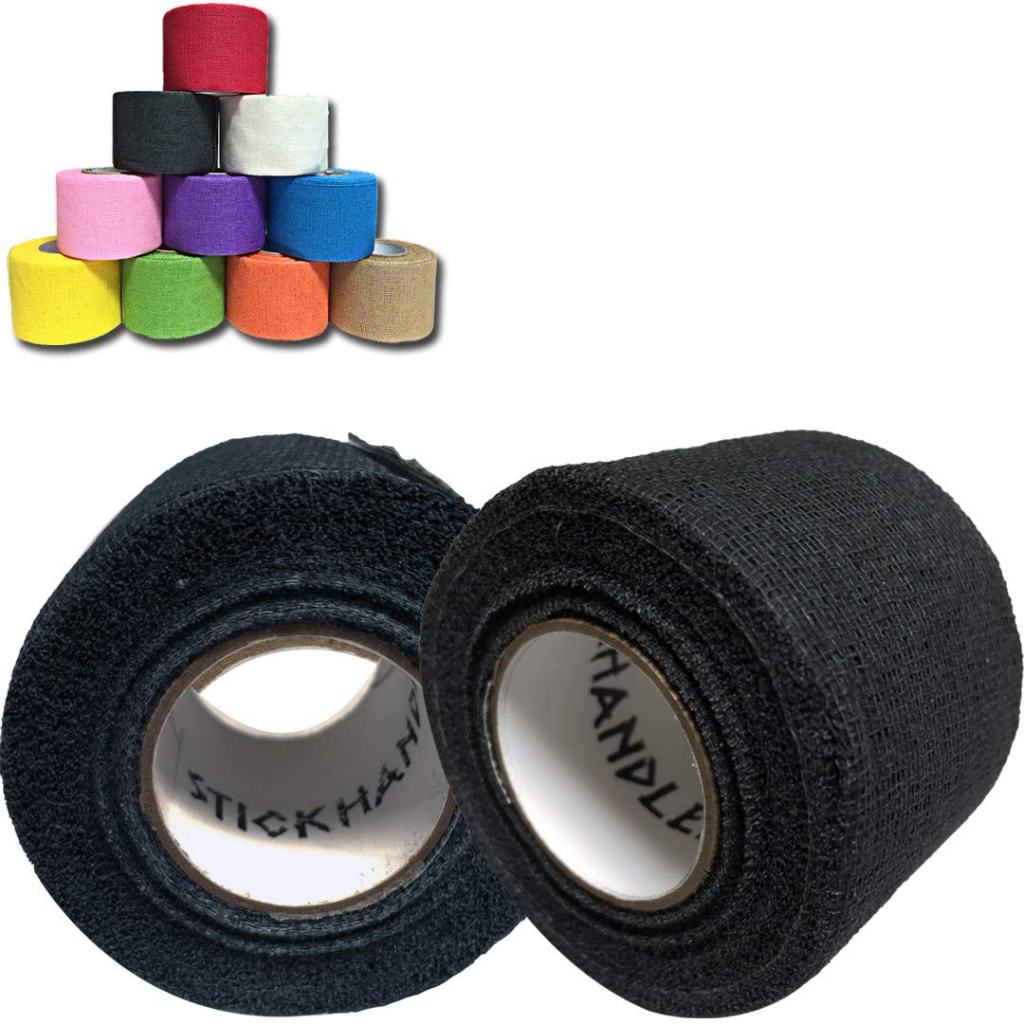
This was the first customization I ever tried, and honestly, it changed everything. I had some leftover tennis grip tape lying around, wrapped it around my favorite pair of 5As, and suddenly – no more stick slips.
Honestly, it felt like I had finally unlocked an upgrade I didn’t know I needed.
🛠️ Why Use Grip Tape on Drumsticks?
If your hands sweat (and whose don’t?), grip tape adds that extra tacky texture to help you keep control during long sessions or hot gigs.
It also slightly increases the diameter of the stick, which can make it easier to hold, especially if you have larger hands or tend to grip tightly.
And if you’ve ever ended a set with blisters or finger fatigue, tape helps with that too by softening the contact area between your fingers and the stick.
Types of Tape I’ve Tried
- Hockey Tape: Cheap, grippy, and everywhere – but leaves a sticky residue.
- Tennis Overgrip: Cushioned feel, absorbs sweat well. My personal favorite.
- Drum-Specific Grip Tape: Like Zildjian or Vic Firth grip tape. Tailored for sticks, slightly pricier but clean and reliable.
- Electrical Tape: Works in a pinch, but gets slippery fast and doesn’t breathe well.
Each one has its own feel, and I’d honestly recommend trying a couple to see what feels best. I still experiment with different tapes depending on the season or what I’m playing.
You can find plenty of different options for drumsticks grip tapes on Amazon.
How to Apply Grip Tape Properly
Start about 1.5 inches above the butt of the stick. Wrap upward with slight overlap and even tension. If you’re using an overgrip like tennis tape, finish with a small piece of electrical tape to keep it secure.
Downsides to Watch For
- Adds a bit of weight (affects balance drastically!)
- Can trap moisture underneath if not breathable
- May need replacing more often than expected
- Some tape types leave gunk on your sticks
If you’re serious about stick feel and rebound, this change can affect how your sticks respond. I learned more about that through this guide on drumstick weight and control, which helped me dial in the balance I liked best after wrapping.
Wax and Rosin for Extra Stickiness
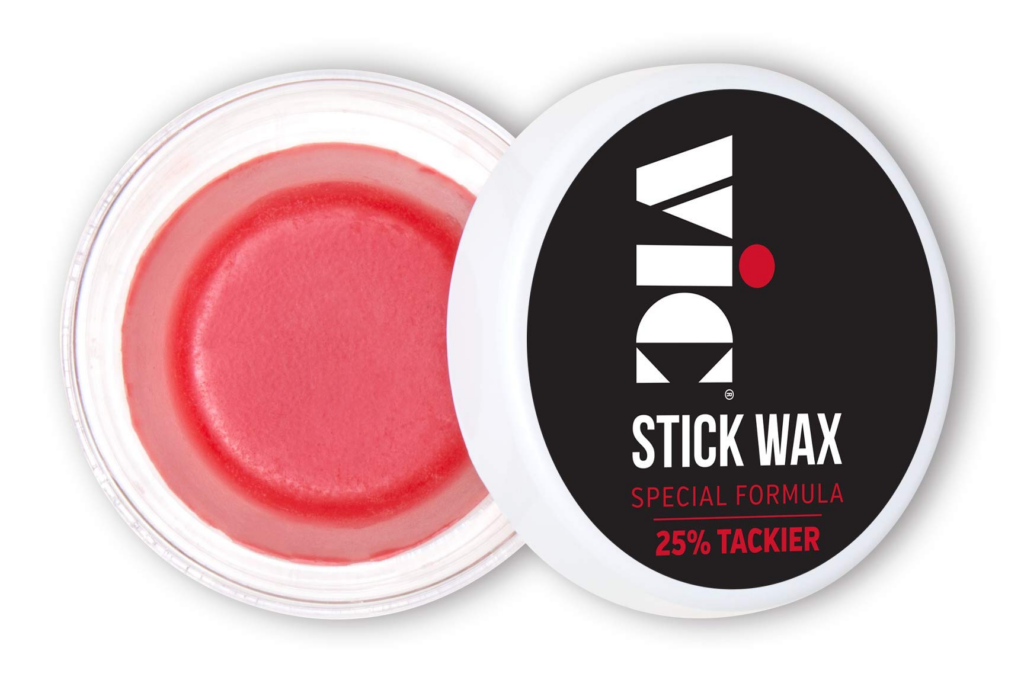
After messing around with grip tape, I wanted something less bulky – something that didn’t change the feel or balance of the stick.
That’s when I gave drumstick wax a try. Total game-changer.
Zildjian have great drumsticks wax to improve your grip – worth checking it out!
It’s basically the drummer’s version of pine tar. Just a bit of sticky help to keep things under control when your hands start to sweat.
What Kind of Wax Works?
I started with plain ol’ beeswax. It’s natural, easy to find, and works surprisingly well.
Then I upgraded to a drumming-specific stick wax that came in a little tin – kind of like lip balm. Way cleaner, more consistent, and it didn’t leave that greasy feeling on my hands.
There’s also rosin, which percussionists use for grip on mallets. It’s more powdery and tacky, and I find it works best in dry conditions. If you’re playing outdoors or your hands get clammy, wax tends to perform better.
How to Apply It (Without Going Overboard)
Rub the wax over the area you naturally grip – usually 4–6 inches from the butt. A couple swipes is plenty. Don’t glob it on unless you want everything sticking to your hands (including drum keys, tuning lugs, and hair).
You can reapply every few sessions, or just whenever you start losing grip. If it starts building up too much, a quick wipe with a cloth will reset it.
Why I Like It
- Keeps the stick’s natural feel (no added thickness)
- Easy to reapply mid-practice
- Subtle but super effective
- Clean look with no tape or wraps
I rotate between wax and tape depending on the gig. If I’m rehearsing indoors for hours, wax is my go-to. But for hot shows, I usually default to taped sticks for a little extra security.
If you’re curious how wax pairs with different wood types (some are naturally grippier than others), this article on drumstick materials gives a nice breakdown of how finishes, density, and surface texture affect your feel.
DIY Customization Ideas That Actually Work
Customizing drumsticks doesn’t have to be expensive or complicated. In fact, some of my favorite mods have been simple DIY tweaks I threw together in five minutes.
Here are a few easy and effective ways to make your drumsticks feel more personal and playable.
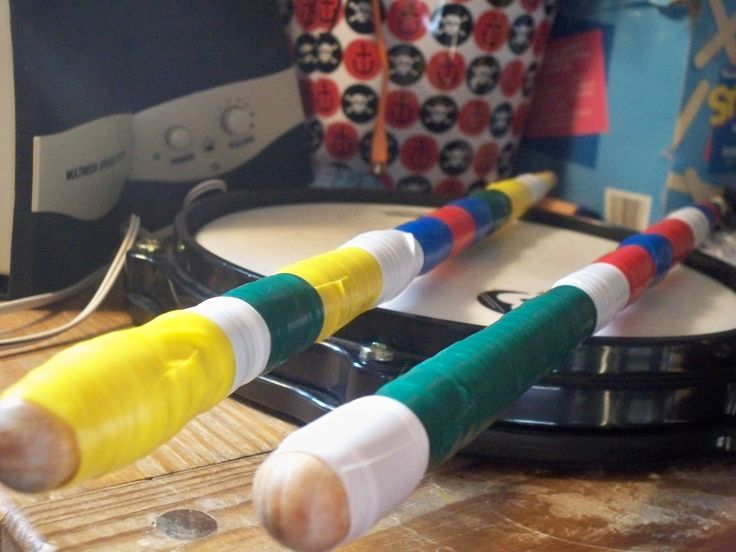
Electrical Tape for Grip and Style
It’s cheap, comes in every color under the sun, and sticks well. I’ve used it to mark stick pairs, add some basic grip, and even wrap logos.
Just don’t expect it to hold up to sweat like pro grip tape – this one’s more about personality than performance.
Sometimes I use it to actually prolong the life of a drumstick. I usually hit rimshots mostly, therefore it starts to chip there – that’s where I use electrical tape to strengthen the drumstick and make it last longer.
Sharpie Tags and Personal Logos
If you’ve ever had someone “borrow” your sticks at practice and forget to give them back, this one’s for you.
Use a silver Sharpie to write your name, initials, or even a band logo on the butt end of the stick. It won’t last forever, but it helps and looks kinda cool too.
Add Weights (Carefully)
This one’s a little more advanced, but you can add small amounts of tape or putty to the butt or center of the stick to shift the balance slightly.
I’ve used this to replicate the feel of heavier marching sticks when I’m practicing rudiments. Just don’t mess with the balance too much and you’ll end up fighting the stick instead of flowing with it.
Use Grip Powders or Dry Hands Products
If you don’t like tape or wax, try grip powder (like what tennis players use) or a product like Dry Hands.
I keep a travel-size bottle in my stick bag, especially for outdoor gigs or high-humidity practice spaces.
Combine Mods for the Perfect Feel
Some of the best setups I’ve found combine a light tape wrap + wax for max control without bulk. You can also do a thin wrap of colored tape for identification, then grip wax on top.
All of this stuff works best when your base stick is a good fit. If you’re still unsure what stick size or material works for you, definitely revisit the main guide on how to choose drumsticks like a pro. That article covers everything from sizing to weight to wood type.
What to Avoid When Modifying Your Drumsticks
Now, as much as I love tweaking my gear, I’ve also learned the hard way that you can absolutely overdo it when customizing drumsticks. There’s a fine line between enhancing your playing and accidentally making it worse.
Here are some common mistakes I’ve made (or seen other drummers make) that you’ll want to steer clear of:
Overwrapping with Tape
It’s tempting to keep adding layers of grip tape to get a thicker, “cushier” feel. But eventually, your stick starts to feel more like a baseball bat than a drumstick.
Too much bulk not only changes your grip, it also messes with your stick’s balance, rebound, and control. If you’ve added more than one full layer of tape, it’s probably too much.
Using the Wrong Wax or Too Much of It
Not all waxes are created equal. I once used a DIY mix that got way too soft under stage lights and started leaving residue on my hands, my kit, and everything I touched.
Stick to beeswax or drummer-approved grip wax, and apply sparingly – a little goes a long way.
Throwing Off the Stick’s Balance
If you start adding grip aids, logos, or tape too far up or down the stick, you can mess with the balance point. I once added putty to the middle of a stick to simulate marching weight, and it completely threw off my control.
Before you commit to any permanent mod, it’s a good idea to review the basics in this drumstick sizing and balance chart. Just to make sure you’re not undoing good technique with a bad mod.
Modding Expensive or Specialty Sticks
If you’re working with high-end or artist-series sticks, don’t go slapping on duct tape and melted wax unless you’re 100% sure. Try your mods on a cheaper pair first.
If you’re new to customizing or even just picking out your first few stick types, make sure you’ve read our core guide on how to choose drumsticks like a pro. It’ll help you get the foundation right before adding on the extras.
Final Thoughts on Customizing Drumsticks
Customized drumsticks might can really help you improve. A little grip tape here, some wax there, or even just a better-fitting stick can mean the difference between a smooth session and one filled with dropped sticks, sore hands, and frustration.
Whether you’re taping for control, adding a grip sleeve for comfort, or just throwing your initials on the butt end to keep your gear from walking away, these mods help you feel more connected to your kit. And when your sticks feel dialed in, your playing improves naturally.
Start simple. Experiment with one change at a time and see how it feels. You don’t have to overhaul everything – sometimes, just a better grip is all it takes to level up.
And if you’re still figuring out the basics of what stick size, shape, or material works best for your playing style, don’t skip our full guide on how to choose drumsticks like a pro. It’s the foundation every drummer should have before jumping into customization.


